iPhone Control Center for Android Switchers: Your Essential Quick Settings Guide
Making the leap from Android to iPhone introduces a host of new experiences, from the nuances of iOS gestures to Apple’s distinct approach to system functionalities. One area where Android switchers often seek a direct equivalent is the quick settings panel – that convenient, pull-down menu providing instant access to Wi-Fi, Bluetooth, and other frequently used toggles. On iPhone, this essential hub is called Control Center, and understanding it is key to a smooth transition.
Editor's pick: Android-to-iPhone migration accessories on Amazon → As an Amazon Associate, this site earns from qualifying purchases.
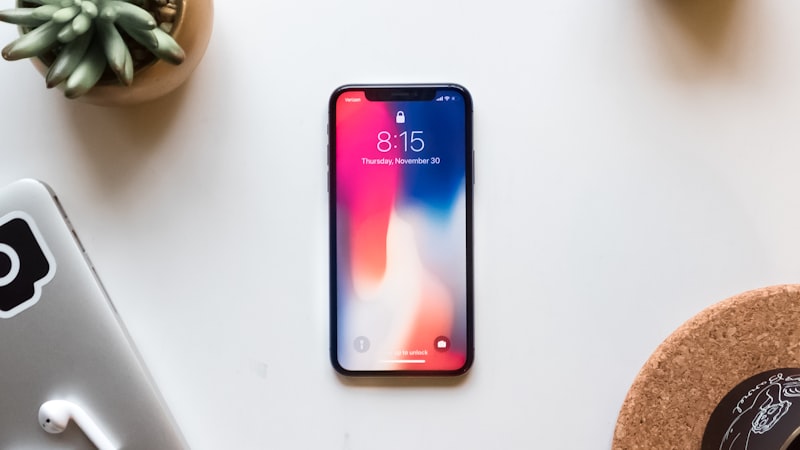
While Android’s Quick Settings often allow for extensive customization directly from the notification shade, Apple’s Control Center integrates many similar functions with a slightly different philosophy and interaction model. This guide will walk you through accessing, customizing, and efficiently using Control Center, helping you feel right at home on your new iPhone.
Accessing iPhone Control Center
Unlike Android, where Quick Settings are typically accessed by swiping down once or twice from the top of the screen alongside notifications, Control Center has its own dedicated gesture:
- For iPhones with Face ID (iPhone X and later): Swipe down from the top-right corner of the screen.
- For iPhones with a Home button (iPhone 8 and earlier): Swipe up from the bottom edge of the screen.
Upon performing the correct gesture, Control Center will slide into view, presenting a grid of controls. Notifications, on the other hand, are accessed by swiping down from the top-center or top-left of the screen on Face ID models, or any part of the top on Home button models.
Understanding Default Controls
Out of the box, Control Center offers immediate access to several critical functions. These are typically grouped logically:
- Connectivity Module: This square often contains toggles for Wi-Fi, Bluetooth, Cellular Data, and AirDrop. Press and hold (haptic touch) on this module to expand it and reveal additional options like Personal Hotspot and Airplane Mode.
- Music Playback: A dedicated module for media controls, showing what’s currently playing and offering pause/play, skip, and volume adjustments.
- Screen Orientation Lock: Prevents your screen from rotating, useful when lying down or in specific apps.
- Do Not Disturb: Quickly silence notifications.
- Brightness Slider: Adjust screen brightness.
- Volume Slider: Control system volume.
- Flashlight: A simple tap to turn your iPhone’s LED flash into a torch.
- Timer: Quickly set a timer without opening the Clock app.
- Calculator: Access the Calculator app instantly.
- Camera: Launch the Camera app.
Many of these controls, particularly the larger modules or those with a dedicated icon, support haptic touch (a firm press). This expands their functionality, revealing more granular options or related settings without needing to navigate to the main Settings app. For example, haptic touching the Flashlight icon might present brightness levels, or haptic touching the Timer might offer preset durations.
Customizing Control Center: Tailoring Your Experience
One of the most valuable aspects of Control Center for Android switchers is its customizability, allowing you to add or remove controls to suit your workflow. This is where you can truly make your iPhone feel more personal and efficient.
To customize Control Center:
- Open the Settings app.
- Scroll down and tap on Control Center.
- Under "Included Controls," you'll see the items currently active in your Control Center.
- Under "More Controls," you'll find a list of available options you can add.
- Tap the green + icon next to an item to add it to your Control Center.
- Tap the red - icon next to an item under "Included Controls" and then "Remove" to take it out.
- You can also reorder controls by dragging the three horizontal lines icon next to them.
Recommended Controls for Android Switchers
Consider adding these controls to enhance your daily use:
- Screen Recording: A built-in feature that lets you capture your iPhone’s screen activity, complete with audio.
- Text Size: Quickly adjust the font size across iOS and compatible apps without diving deep into Accessibility settings.
- Low Power Mode: An essential toggle for preserving battery life when you’re away from a charger.
- Wallet: For quick access to Apple Pay cards and passes. While Apple Pay is integrated into the Side button, having Wallet here can be convenient for non-payment passes.
- Accessibility Shortcuts: If you frequently use features like Invert Colors or Zoom, this can be a powerful addition.
- Voice Memos: For those moments when you need to record something quickly.
Control Center vs. Android Quick Settings: Key Differences
The primary difference Android switchers will notice is the separation of notifications and quick settings on iPhone. Android typically combines them, often requiring a second swipe to reveal the full quick settings panel. iPhone's dedicated Control Center gesture means you get instant access without sifting through notifications.
Another distinction is the method of customization. While some Android devices allow for on-the-fly rearrangement and addition of tiles directly from the quick settings panel, iPhone requires you to go into the main Settings app to modify Control Center. This offers a more structured, perhaps less immediate, but equally powerful way to tailor your quick access tools.
Tips for Efficient Use
- Haptic Touch for More Options: Always remember to press and hold on controls. Many offer hidden sub-menus or direct access to their respective settings.
- Familiarize Yourself with Groupings: The logical grouping of connectivity, media, and utility tools helps in quickly locating what you need.
- Customization is Your Friend: Don't hesitate to experiment with adding and removing controls. Your ideal Control Center setup will evolve with your usage habits.
Mastering Control Center is a small but significant step in confidently navigating your new iPhone. It’s a testament to Apple’s design philosophy of providing essential tools efficiently, once you understand its distinct approach. Take the time to explore its capabilities, customize it to your liking, and you'll find it an indispensable part of your iOS experience.